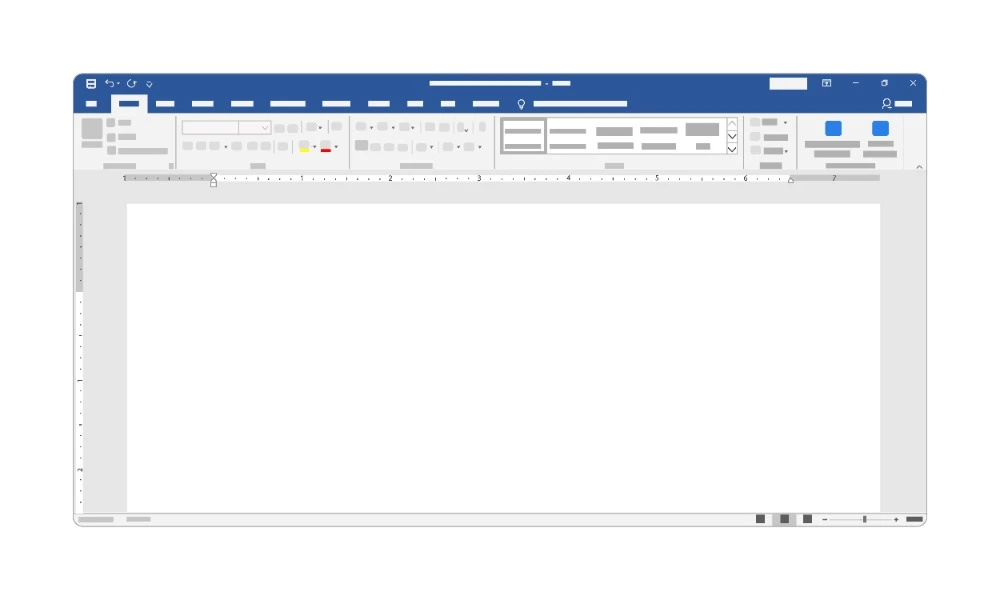
How to Create and Save a Document in Microsoft Word

Microsoft Word is one of the most widely used tools for writing, editing, and sharing documents. Whether you are writing a letter, a report, or an essay, knowing how to create and save a document in Word is one of the most basic — and important — skills.
In this guide, we’ll walk through the process step by step. You’ll learn how to start a new document, enter and format text, and save your work so it’s safe and easy to find later.
👉 If you’re completely new to Microsoft Word, these skills are covered in our Word Introduction Course, where you’ll get hands-on experience with the basics.
Why Learning to Save Properly Matters
Creating a document is simple, but saving it the right way is key:
- It prevents your work from being lost.
- It makes documents easy to find later.
- It allows you to share files with others.
- It helps you keep different versions of your work organised.
Starting a New Document
There are two main ways to start a new document in Word.
Method 1: Blank Document
- Open Microsoft Word.
- From the start screen, choose Blank Document.
- A new empty page will open, ready for typing.
Method 2: Using a Template
- On the start screen, browse the list of templates (letters, reports, resumes, etc.).
- Click on a template you like.
- A new document will open with the design already in place.
👉 Using templates is introduced in our Word Introduction Course, and advanced template management is taught in the Word Advanced Course.
Entering and Formatting Text
Once you’ve created your document, start typing. Word automatically flows text onto the page.
Basic Formatting
- Bold, Italic, Underline → Found on the Home tab.
- Font Size and Style → Change the look of your text.
- Alignment → Align text left, centre, right, or justify.
Example
Type a heading, select it, and apply Bold and a larger Font Size.
👉 Formatting text and paragraphs is one of the first skills taught in our Word Introduction Course.
Saving Your Document
Step 1: Choose Save As
- Click File > Save As.
- Choose where you want to save the file:
- This PC (local drive)
- OneDrive (cloud storage, great for backup and sharing)
Step 2: Name Your File
- Type a clear, descriptive name (e.g., “Business Report January 2025”).
- Avoid vague names like “Doc1”.
Step 3: Select File Format
- .docx – the default Word format.
- .pdf – to share documents that won’t be edited.
- .rtf or .txt – for simpler formats.
Step 4: Save
Click Save. Your document is now stored in the chosen location.
👉 Saving documents and working with file formats is part of the Word Introduction Course.
AutoSave and AutoRecover
Word has built-in tools to protect your work.
- AutoSave (with OneDrive/SharePoint) saves as you type.
- AutoRecover helps restore files if Word crashes.
👉 Managing files with cloud storage is covered in the Word Intermediate Course, which explores collaboration and document sharing.
Saving Different Versions
Sometimes you need more than one version of a document.
- Use Save As to create a copy with a new name (e.g., “Report Draft” vs “Report Final”).
- This helps track changes over time.
👉 Version control is touched on in the Word Intermediate Course, especially when working with Track Changes.
Best Practices for Creating and Saving
- Always give documents meaningful names.
- Save your work in folders organised by project, client, or subject.
- Use OneDrive or SharePoint for backup and collaboration.
- Save regularly — don’t just rely on AutoSave.
Common Mistakes to Avoid
- Closing Word without saving.
- Overwriting a document by using the same name accidentally.
- Saving files in random locations, making them hard to find later.
- Using generic names (like “Document1”) that cause confusion later.
Beyond the Basics
Once you’re comfortable creating and saving documents, you can explore more advanced Word features:
- Styles and Formatting → for consistent design. (Word Intermediate Course)
- Track Changes and Comments → for collaboration. (Word Intermediate Course)
- Templates and Forms → for efficiency. (Word Advanced Course)
- Macros → to automate tasks. (Word Advanced Course)
Final Thoughts
Learning how to create and save a document in Microsoft Word is the foundation of everything else you’ll do in the program. It may sound simple, but it’s a vital skill that every Word user must master.
👉 If you’re new, start with our Word Introduction Course to learn the basics of creating, formatting, and saving documents.
👉 To take your skills further, the Word Intermediate Course covers collaboration, version control, and working with longer documents.
👉 And for power users, our Word Advanced Course dives into templates, forms, and automation with macros.
With these skills, you’ll be able to use Microsoft Word more confidently and professionally.


